
This is twenty minutes of work in April that decides whether your machine starts in December. Skip it and you join the queue at a service shop during the busiest month of their year, shovelling in the meantime. Snow blower storage is the least glamorous job in the category and comfortably the highest value.
Why snow blower storage decides next winter
A snow blower sits unused for roughly eight months of the year. No other machine most households own has that duty cycle, and it is the reason snow blower storage matters so much more here than it would for a lawnmower used weekly.
During those eight months, one thing quietly destroys machines: fuel. Most Canadian pump gasoline contains ethanol, which attracts moisture and begins degrading after about 30 days. Over a summer it varnishes into a residue that blocks the fine jets inside the carburettor. The engine then turns over willingly in December and never fires.
Service departments see this every single year, in volume, and it is the single most common fault in the category. It is also entirely preventable in about five minutes.
The snow blower storage checklist at a glance
| Job | Gas | Battery | Corded |
|---|---|---|---|
| Stabilise or drain fuel | Essential | n/a | n/a |
| Change oil | Annually, while warm | n/a | n/a |
| Remove packs, store indoors | n/a | Essential | n/a |
| Inspect cord and plug | n/a | n/a | Yes |
| Check paddles and scraper bar | Single stage only | Single stage only | Yes |
| Check skid shoes | Two stage only | Two stage only | n/a |
| Inspect belts | Yes | Yes | Usually n/a |
| Clean, dry, store raised | Yes | Yes | Yes |
| Test run in October | Essential | Worth doing | Worth doing |
Gas machines carry most of the work, which is the honest cost of a machine with no runtime ceiling. Cordless machines reduce the list to storing packs indoors and checking two wear parts.
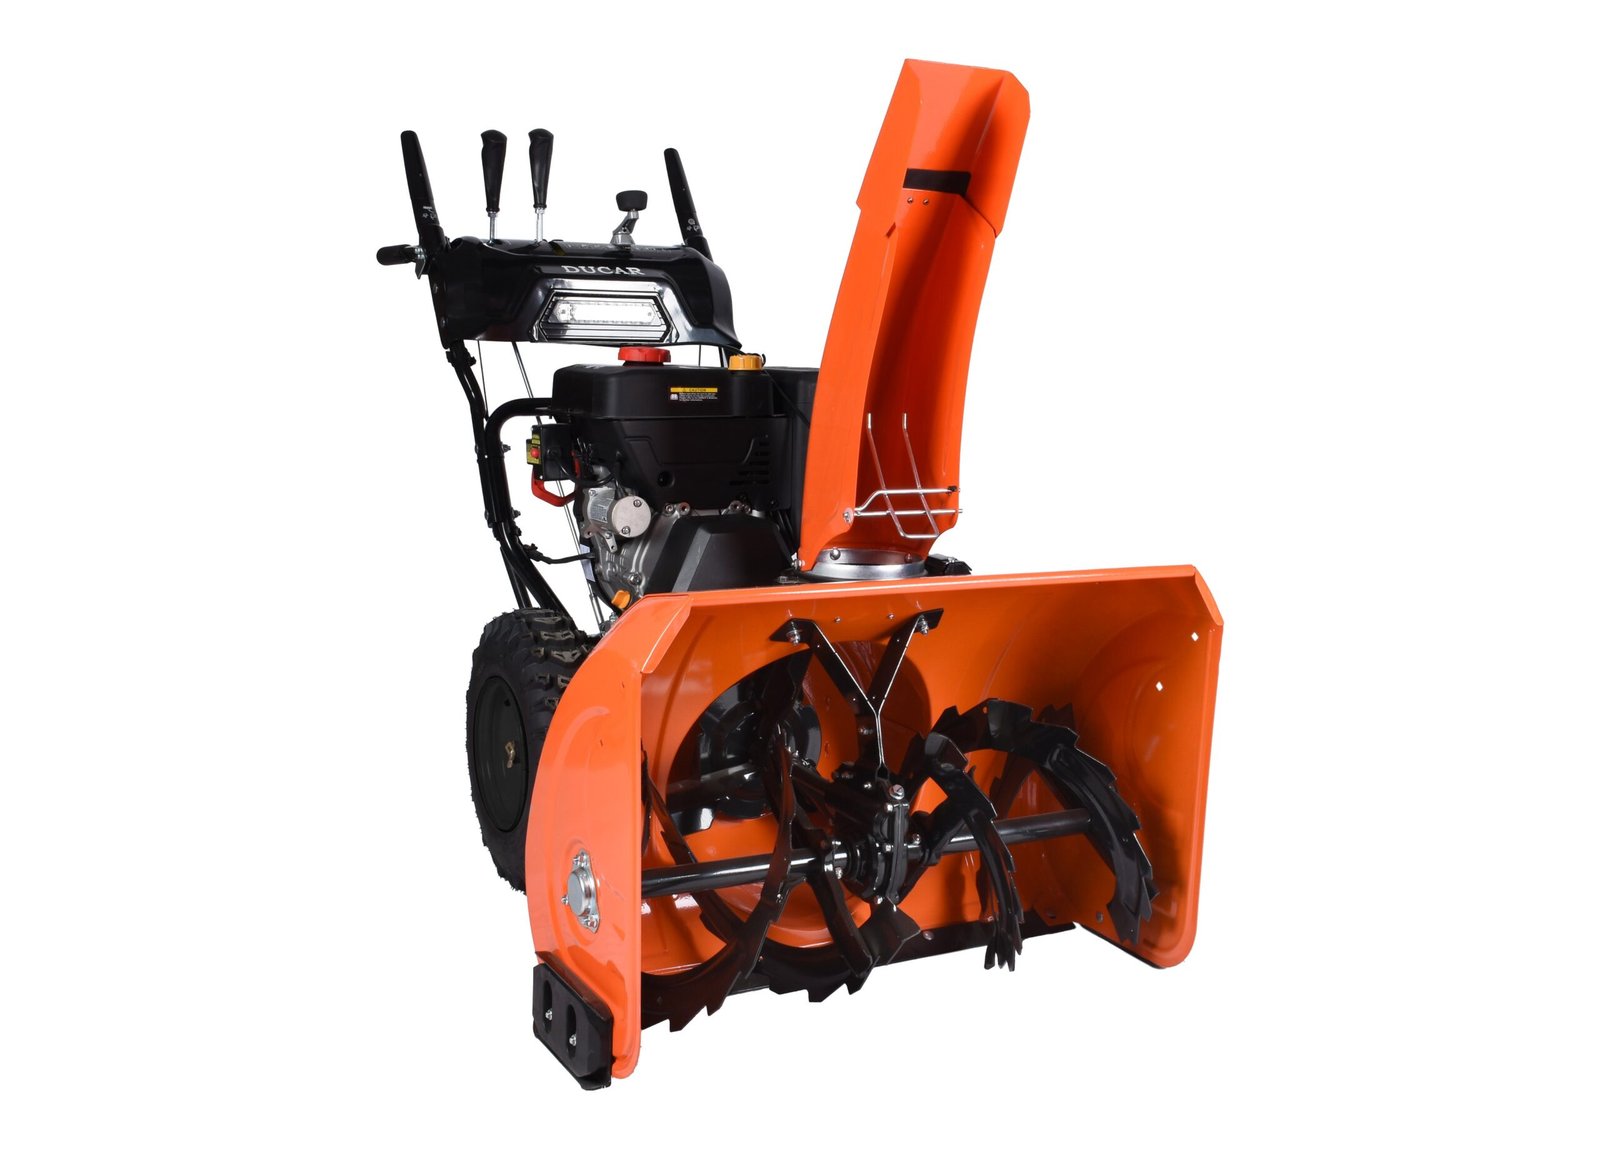
Step 1: deal with the fuel
Two approaches work. Pick one and actually finish it, because the half done version is what catches people out.
Stabilise it. Add fuel stabiliser to the tank at the dose on the bottle, then run the engine for several minutes. This is the step people skip. Treated fuel sitting in the tank while untreated fuel sits in the carburettor bowl gives you a varnished carburettor anyway, which is exactly the outcome you were trying to avoid.
Or run it dry. Shut off the fuel valve and let the engine run until it stops by itself. This leaves nothing to degrade anywhere in the system, and it is the simpler option if you are not confident about dosing.
What does not work is parking it full of untreated pump fuel and hoping. Ethanol free fuel, where you can buy it, avoids the problem outright and is worth the premium in a machine used this seasonally. Fuel guidance is published by Natural Resources Canada.
Step 2: change the oil while it is warm
Change the oil at the end of the season rather than the start, and do it while the engine is still warm from the fuel step.
Two reasons. Warm oil carries suspended contaminants out with it instead of leaving them settled in the crankcase. And used oil holds combustion acids, which you do not want sitting against internal surfaces for eight months.
Check the level on flat ground rather than on the slope of your driveway, which is how machines end up overfilled. Use the grade the manual specifies. This is the cheapest single thing you can do for engine life, and it takes about ten minutes.
Step 3: clean it properly
Winter clearing leaves road salt, grit and meltwater inside the machine, and salt sitting on bare metal for a summer does real damage.
Clear the chute and the auger housing thoroughly, with the machine off and using the clearing tool rather than your hands. Wash or wipe the housing down, paying attention to the inside of the auger housing where wet snow packs grit against metal. Then dry it properly. A machine put away damp corrodes quietly all summer where you cannot see it.
Step 4: inspect and order parts now
This snow blower storage step saves you money as well as trouble, because April is when nobody else is ordering.
- Auger paddles and scraper bar on a single stage machine. Worn paddles are the reason a machine stops clearing to bare pavement and stops pulling itself forward.
- Skid shoes on a two stage machine, replaced when worn thin.
- Belts, inspected for cracking or glazing. A worn auger belt is the usual reason a machine runs but stops throwing.
- Shear pins, and buy spares regardless. They always break during a storm.
- Spark plug, replaced every year or two.
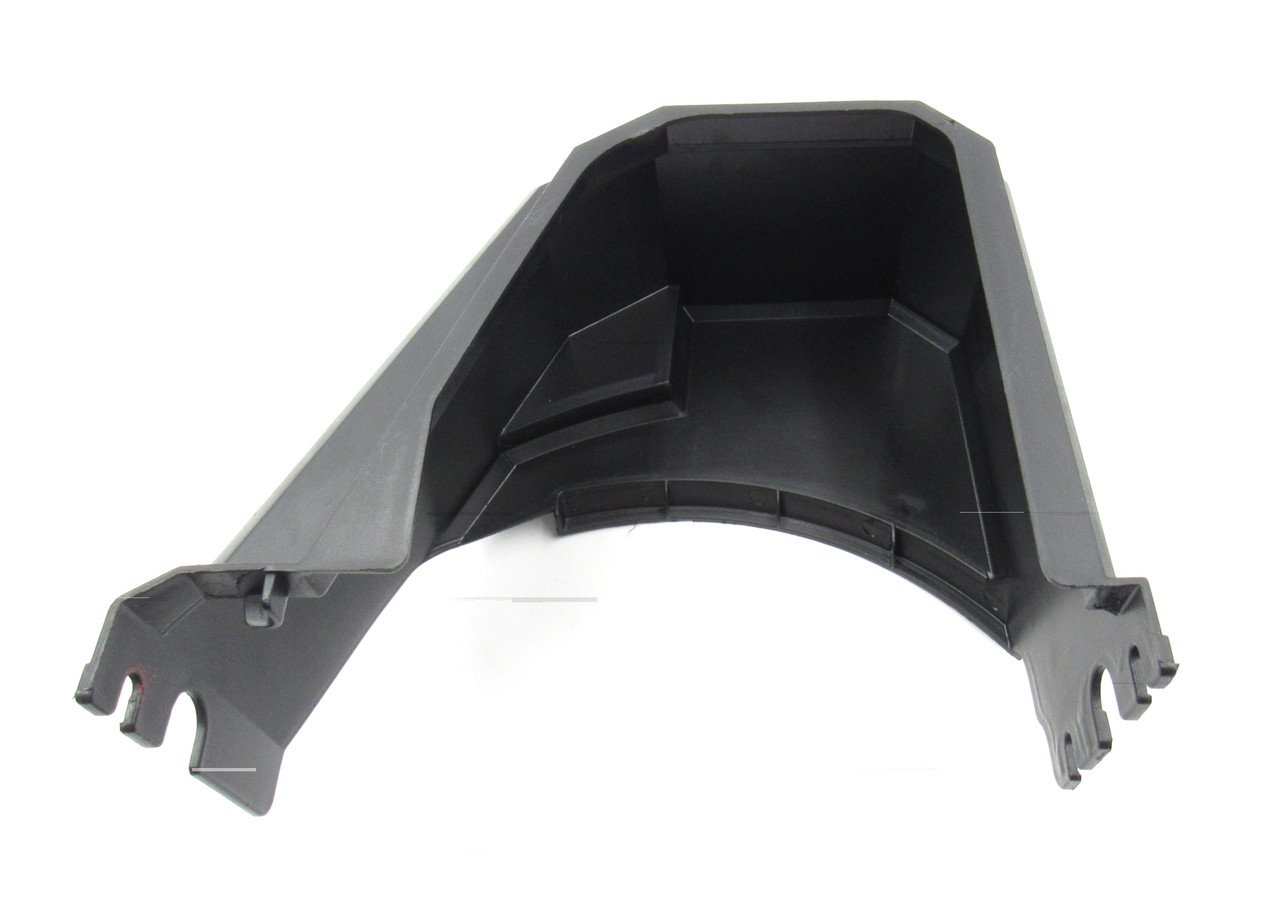
Ordering these in April means they arrive without urgency and sit on a shelf ready. Ordering them in January means competing with everyone else in the country for the same parts. Consumables are stocked in snow blower parts.
Step 5: grease and protect
Check the manual for grease points, usually on the auger shaft, and service them once a season. On a machine that will sit for months, a light film of protectant on bare metal surfaces inside the auger housing is worth the two minutes.
Leave the fuel valve closed. Note it somewhere, because a closed fuel valve forgotten over the summer is a classic October no start that costs an hour of diagnosis.
Where to put it, and what the floor should be
Snow blower storage needs one thing above all: out of direct weather. A garage, shed or covered space all work.
Ideally get it off a damp concrete floor, which wicks moisture upward, using a board or a pallet. Do not cover a machine tightly with plastic sheeting, which traps condensation against metal and does more harm than leaving it uncovered. A breathable cover is fine.
If it must be outside, raise it off the ground and use a breathable cover, and accept that you are shortening its life relative to indoor snow blower storage.
Snow blower storage for a battery machine
Battery snow blower storage is far simpler, with one rule that matters more than all the others.
Take the packs off the machine and store them indoors. Packs left sitting on a machine in an unheated garage through a Canadian summer and the following winter lose capacity considerably faster than packs kept inside at room temperature. This single habit does more for pack life than anything else you can do.
Most manufacturers suggest storing packs at a partial charge rather than full or empty. Check the paddles and scraper bar as you would on any single stage machine, wipe the housing down, and that is essentially the entire job.
Lithium packs are regulated for shipping by Transport Canada and should be recycled through a programme such as Call2Recycle Canada at end of life rather than put in household waste.
Snow blower storage for a corded machine
The simplest of the three. Clean it, dry it, check the paddles and scraper bar, and inspect the power cord and plug for nicks or damage before putting it away.
Store the extension cord indoors if you can. Outdoor rated cold weather cords last longer when they are not baking in a shed all summer, and a cracked cord jacket discovered in December is an avoidable annoyance.
The five snow blower storage mistakes
Every one of these turns up in service departments in December, and every one is avoidable in April.
Adding stabiliser and not running the engine. The most common half done job in the category. Treated fuel in the tank plus untreated fuel in the carburettor bowl produces exactly the varnished carburettor you were trying to prevent.
Changing the oil in autumn instead of spring. Used oil holds combustion acids. Leaving it in the crankcase all summer is avoidable wear for no reason, and the job takes the same ten minutes either way.
Wrapping the machine tightly in plastic. It feels protective and traps condensation against bare metal. A breathable cover, or no cover in a dry garage, is better than a sealed one.
Storing packs on the machine. A battery pack sitting in an unheated garage through a Canadian summer and the following winter loses capacity far faster than one kept indoors. This costs real money over a few seasons.
Not testing in October. Correct snow blower storage still needs proving. A machine that has sat for eight months should be started and run before the first forecast, not during it, because a fault found in October is fixable and the same fault in January is a three week queue.
What to do in October, before the first fall
Snow blower storage is only half the job. The other half is proving it worked, before you need the machine.
In October, put fresh fuel in, start the machine, and let it run for several minutes. Confirm the auger and the drive both engage and disengage cleanly. Adjust the skid shoes for your surface, raised about a centimetre on gravel and lower on pavement. Check the tyres.
A machine that runs roughly in October is a conversation with a shop that has time to help. The same machine running roughly in January, with 30 centimetres on the ground, is a crisis. Test early, and time your clearing through the season against Environment and Climate Change Canada forecasts.
Common questions
How do I store a snow blower for the summer?
Should I drain the fuel or use stabiliser?
Can I leave fuel in a snow blower over summer?
When should I change the oil, spring or autumn?
Where is the best place to store a snow blower?
How do I store snow blower batteries?
Should I run a snow blower during the summer?
What parts should I buy in April?
The full seasonal routine is in the snow blower maintenance checklist. If the machine already will not start, work through the causes in order.