
The plow ridge is the single hardest thing a Canadian driveway asks of a machine. You clear the driveway, the municipal plow comes past, and a dense bank of compacted snow and ice seals the entrance. It is the most demoralising twenty minutes in Canadian winter, and it is where most snow blowers get damaged, because people attack it the same way they cleared the fresh snow ten minutes earlier.
Why the ridge is different
Fresh snowfall is light, loose and full of air. The plow ridge is none of those things.
A plow blade compresses snow as it pushes it, and what lands across your entrance has been compacted under weight, mixed with road grit and salt, and frequently part frozen into ice. It can be several times denser than the snow that fell, and it often sits in a bank considerably deeper than the driveway snow you just cleared.
So a machine that handled 20 centimetres of powder without complaint meets material that is functionally a different substance. This is not a failure of the machine, it is a change in the job, and treating it as the same job is what causes damage.
It is also why the ridge deserves its own place in choosing a machine. If the plow seals your driveway after every storm, that single fact should push you toward a two stage machine regardless of how long your driveway is.
The technique that works
Slow, partial, and patient. Every part of that matters.
- Take partial width bites. Use a third to half the machine width rather than the full housing. This is the single most effective change, and it is the one people resist because it feels slower. It is not, because full width attempts stall.
- Approach slowly. Let the auger cut into the ridge rather than driving the machine into it at walking pace. On a self propelled machine, drop to the lowest forward speed.
- Work from the ends inward, nibbling at the edges of the bank where it is thinner, rather than charging the middle where it is deepest.
- Let the machine recover. If the auger slows audibly, back off slightly and let it clear before advancing again.
- Raise the skid shoes if the ridge is sitting over gravel or a rough apron, so the auger is not simultaneously fighting the ground.
A two stage machine will get through almost any residential ridge with this technique. The same machine driven hard at full width will shear a pin instead.
What kind of machine handles it
Being direct about this saves both frustration and money.
Single stage machines struggle, and there is no technique that fixes it. The auger contacts the ground, the machine has no powered drive, and the material is denser than the design anticipates. You can chip away at a small ridge, and a large one will defeat it.
Two stage machines are the answer, and this is the scenario they exist for. Powered wheels let you push into the bank, the auger is geared for torque, and the separate impeller clears dense material that would pack a single stage chute.
Three stage machines are fastest, because the accelerator breaks up compacted snow and ice before it reaches the impeller. If the plow ridge is the defining problem of your winter rather than an occasional nuisance, this is where the extra cost earns itself.
Tracks help considerably, because you can lean into the ridge without the drive wheels spinning on the ice underneath. Compare the options in two stage snow blowers.
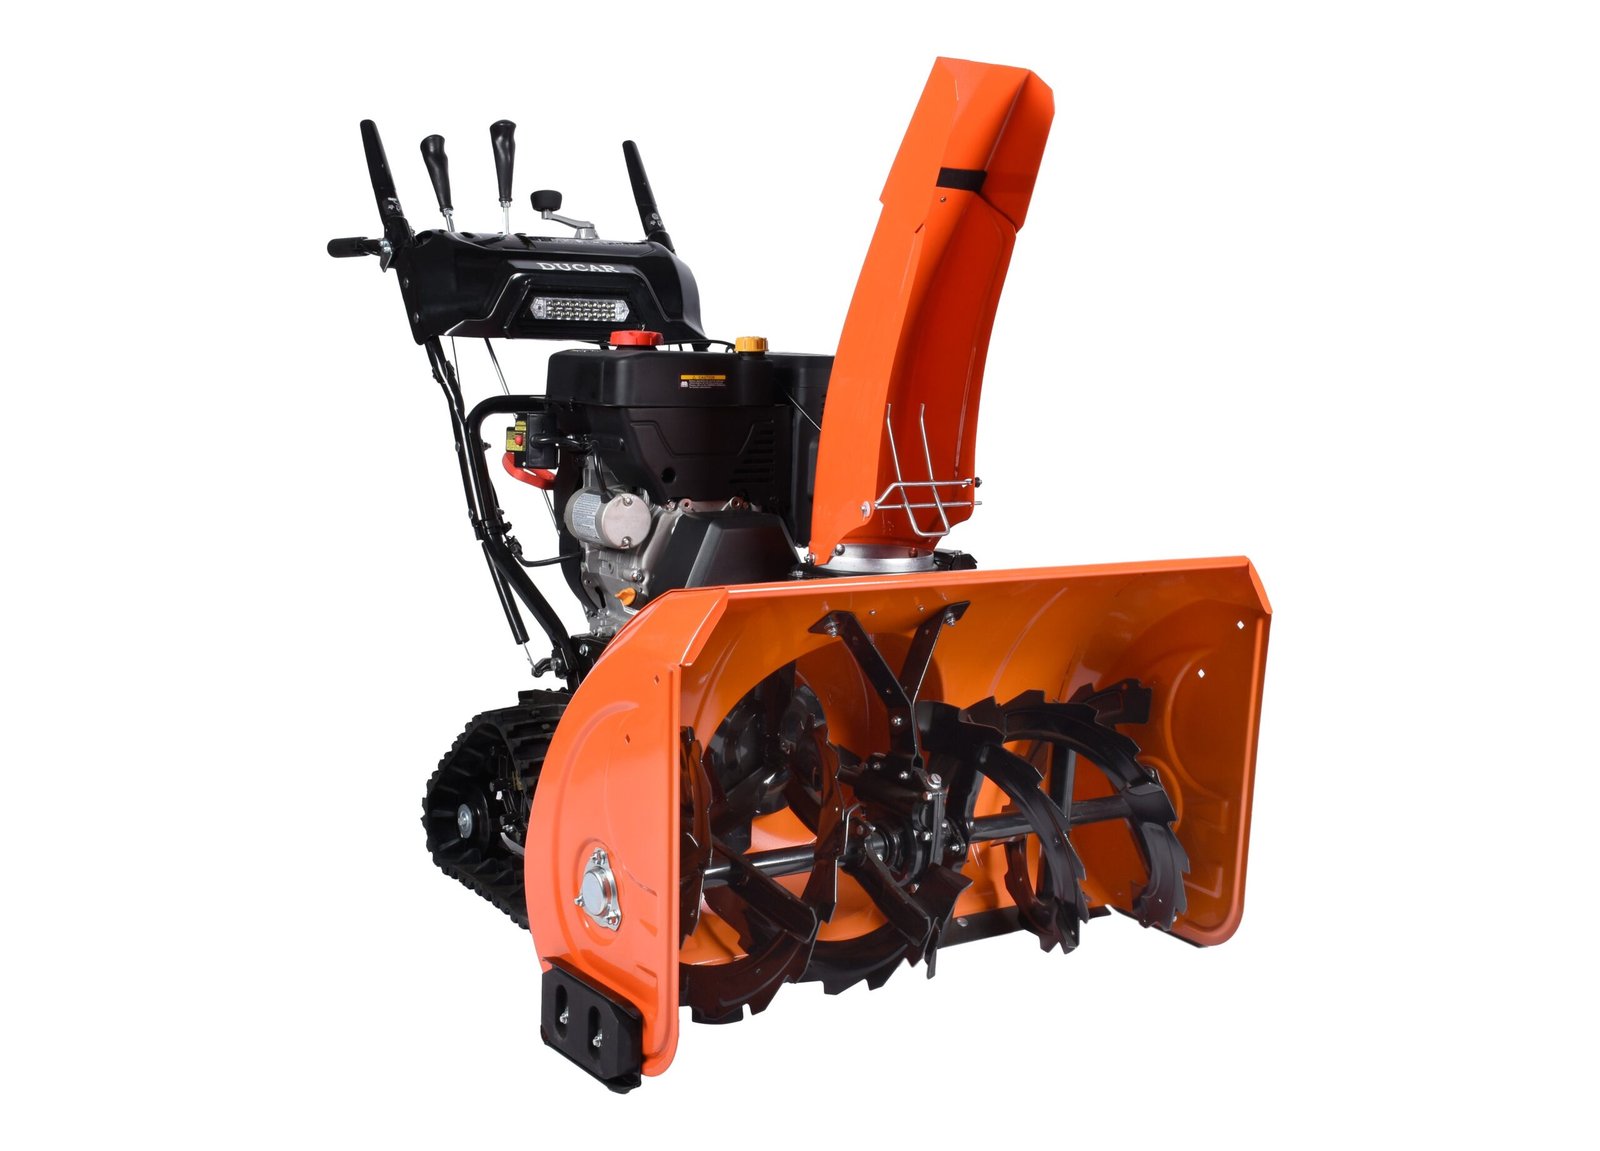
Machine choice against the plow ridge
| Machine | Against the ridge | Verdict |
|---|---|---|
| Corded electric single stage | Defeated by anything substantial | Wrong tool |
| Battery single stage | Small ridges only, slowly | Marginal |
| Gas single stage | Small ridges, hard work | Marginal |
| Battery two stage | Handles it with partial bites | Good |
| Gas two stage 24 to 28 in | Handles it comfortably | The sensible default |
| Gas two stage 30 in and up | Handles it with little drama | Excellent |
| Tracked two stage | Grips where wheels spin | Excellent on slopes and ice |
| Three stage | Accelerator breaks it up first | Fastest available |
If the plow seals your entrance after every storm, start at the two stage row and do not go above it looking for a cheaper answer. No amount of technique makes a single stage machine into the right tool for compacted spoil.
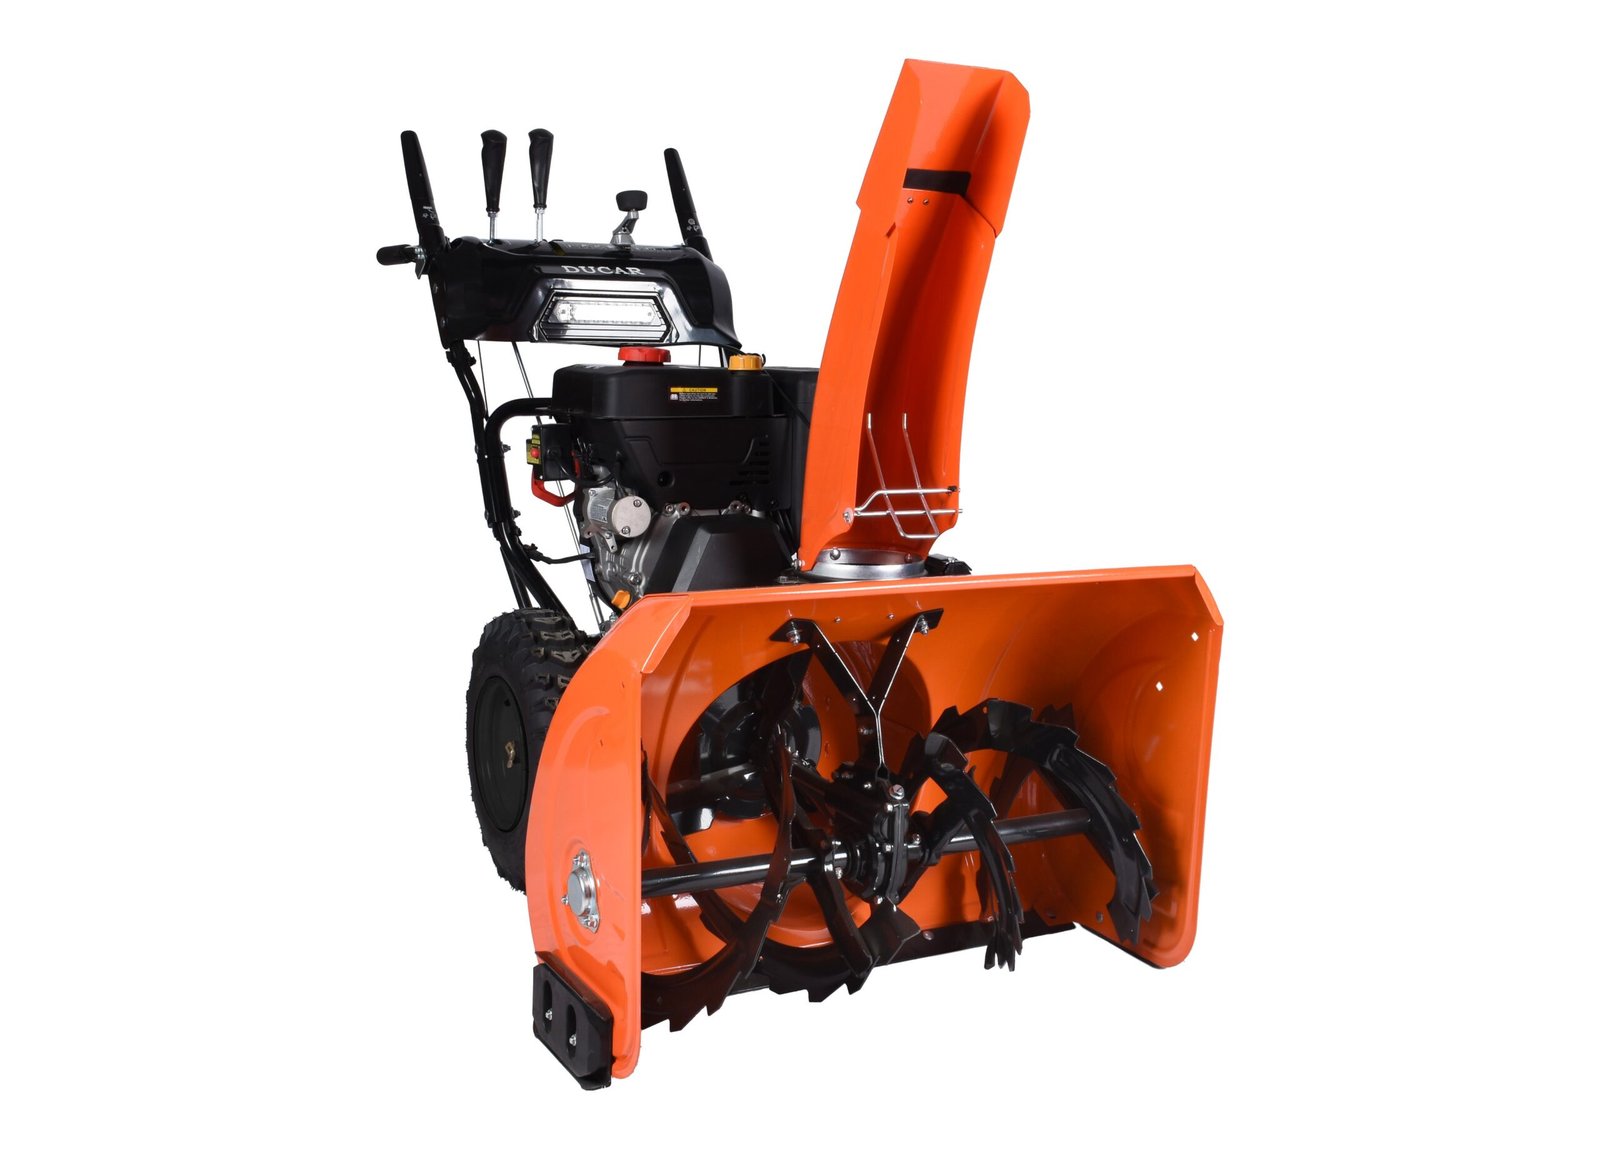
How people break machines on it
Three failures account for nearly all ridge related damage, and all three come from forcing the pace.
Sheared pins. The most common by far. Hitting compacted material or a buried ice chunk at speed loads the auger hard enough to snap the pin, which is exactly what it is designed to do. Keep spares, and read shear pins explained before you are tempted to fit a hardware store bolt, which transfers the load to the gearbox instead.
Belt damage. Repeatedly stalling the auger under load glazes and wears the auger belt. A machine that runs but throws nothing after a hard winter usually needs a belt.
Impact damage to the auger housing from hitting a buried obstruction the ridge has hidden, particularly the edge of a raised slab or a curb.
Notice that none of these are caused by the ridge itself. They are caused by treating it like ordinary snow.
Timing, the underrated trick
The single most useful thing you can do costs nothing.
Clear the ridge before it freezes. Fresh plow spoil is dense but workable. The same material after a night below freezing, or after a thaw and refreeze cycle, is substantially harder and can be genuinely immovable by a residential machine.
If the plow comes through during a storm, it is often worth clearing the entrance again promptly rather than waiting for the storm to finish, even though you know more snow is coming. Twenty minutes of dense spoil now beats an ice bank tomorrow.
Watching the forecast helps you plan this rather than react to it. Environment and Climate Change Canada publishes the timing you need, and knowing a thaw and refreeze is coming is the cue to deal with the entrance today.
Where to throw it
Think about where the material goes before you start, because ridge spoil is heavy and you only want to move it once.
Throw it downwind, and never onto ground you have already cleared. Avoid building a bank across the sight lines at the end of the driveway, which becomes a genuine hazard when pulling out into traffic. And keep it off the road, since throwing snow back into the street is both antisocial and, in many Canadian municipalities, against local bylaws worth checking.
Where you have space, throw ridge material further back than you would fresh snow. It is denser, so it takes longer to melt in spring and a large bank at the driveway mouth can persist for weeks.
Reducing the problem
You cannot stop the plow, but you can make its work less costly to you.
Clear a pocket. Some people clear a section of snow from the street side of the driveway entrance, upstream of the direction the plow travels, so the blade has somewhere to deposit spoil before it reaches your entrance. It is not a complete fix and it noticeably reduces what lands across the opening.
Do not pile snow at the entrance. Snow thrown toward the road from your own clearing gets picked up and compacted straight back across your driveway by the next pass.
Know what is buried. Walk the entrance before the first snowfall and note any raised slab, curb edge or drain cover the ridge could hide, then set your skid shoes to clear it.
Why the plow does this, and what you can ask for
It helps to understand that nobody is targeting your driveway. A plow blade angled to clear a road has to put the snow somewhere, and that somewhere is the shoulder, which is where driveway entrances are. Every entrance on the route gets the same treatment, and the operator has no practical way to lift the blade for each one at working speed.
Municipal practice varies more than people realise. Some Canadian municipalities run driveway windrow clearing programmes, often for seniors or residents with mobility limitations, and some offer them more broadly on request or for a fee. Others publish the plough route order so you can work out roughly when your street gets done, which is genuinely useful for timing your own clearing.
It is worth ten minutes on your municipality’s website before winter to find out which applies to you. Where a programme exists it is usually undersubscribed simply because residents do not know about it, and where the route order is published you can stop clearing the entrance twice.
What is generally not acceptable anywhere is throwing snow back into the cleared roadway, which creates a hazard for traffic and is prohibited by bylaw in many places. Check your local rules rather than assuming.
When to reach for a shovel
Sometimes the honest answer is that a machine is the wrong tool for the last part.
A narrow band of solid ice at the base of the ridge, or spoil that has frozen into a single mass, will defeat a residential snow blower and damage it in the attempt. Breaking that up with an ice chipper or a steel edged shovel first, then clearing the loosened material with the machine, is faster and cheaper than shearing pins repeatedly.
Snow clearing is strenuous work in cold air, so pace yourself on the manual portion. Heart and Stroke publishes guidance worth reading if you have any cardiovascular history, and a powered machine exists precisely to reduce that strain wherever it can.
Common questions
What is the plow ridge?
Why does my snow blower struggle with the plow ridge?
What is the best way to clear a plow ridge?
Can a single stage snow blower clear a plow ridge?
Why do I keep shearing pins on the plow ridge?
Should I clear the plow ridge before or after the storm?
Do tracks help with the plow ridge?
Can I throw plow ridge snow back onto the road?
If the ridge is your recurring winter problem, size the machine for it: read what size snow blower do I need and compare two stage machines.